Wishlist
When the counter is a catchall: a simple goal for every room
Imagine coming home and dropping keys, mail, and a kid’s backpack on the hallway table—then leaving again with nothing found. The end result we want is visible, reachable zones where every frequently used item has a consistent spot. Using storage bins and baskets is the most flexible way to make that happen: they define zones, hide clutter, and make maintenance a quick daily habit.
Decide what “organized” looks like for each space
Before buying anything, walk each problem area and name the main activities that happen there. For example:
- Entryway: drop zone for keys, mail, shoes, dog leashes.
- Kitchen/pantry: snack grouping, breakfast items, overflow appliances.
- Living room: blankets, remotes, chargers.
- Closet: seasonal accessories, scarves, small purses.
- Kids’ room: small toys, art supplies, stuffed animals.
Write one short sentence per area (e.g., “Pantry: snacks and breakfast supplies”)—this becomes your buying and placement rule when choosing bins and baskets.
Choose the right bin or basket for the job
Match form to function. Use these quick rules:
- Clear plastic bins: best for pantry, fridge, and anything you need to see at a glance. They’re stackable and easy to clean.
- Fabric bins with handles: great on open shelving or closets because they’re lightweight and soft-fitting around contents.
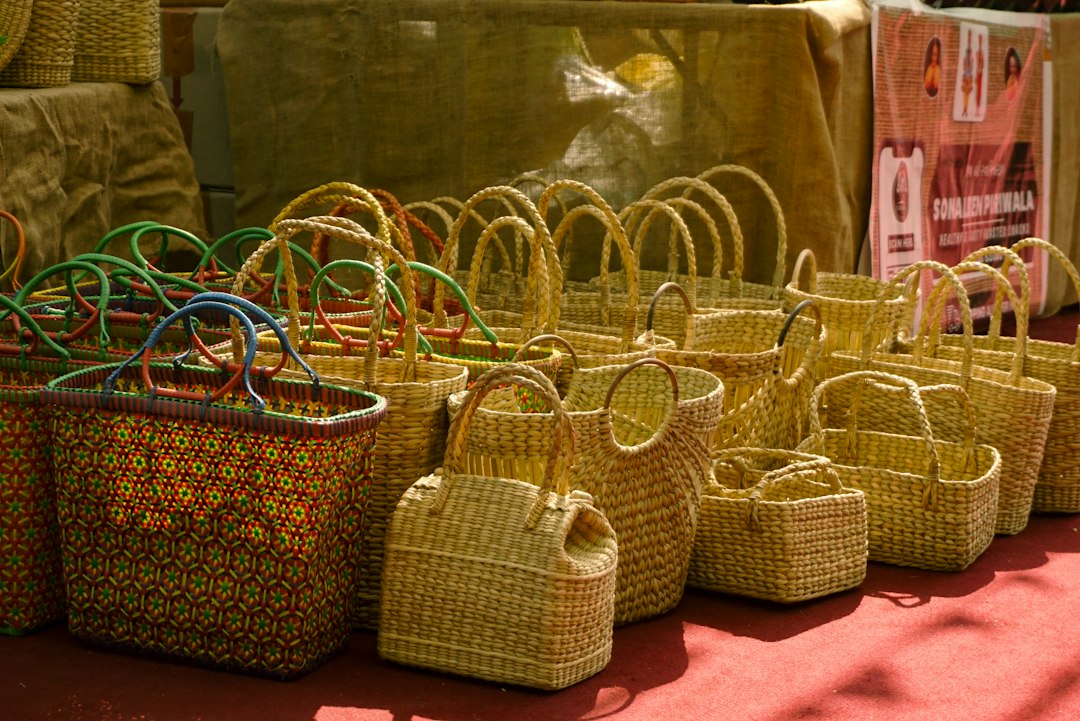
- Woven baskets: attractive for living rooms and entryways where appearance matters; pick one with a liner if you’ll store small items.
- Flat, under-bed bins: ideal for out-of-season clothing or less-used gear.
- Bins with lids: choose when you need dust protection or to hide clutter (toys, craft supplies).
Size matters: pick a bin that will be at least 70–90% full for efficiency; too-small bins make more work and look messy, while overlarge containers encourage dumping things in without sorting.
How to group and place bins so they actually get used
Organize by frequency and activity. Put daily-use bins at eye level or within easy reach; reserve low and high shelves for seasonal or seldom-used bins. Use the “one activity, one bin” rule for high-traffic spots: a shoe basket, a mail bin, a charging basket for devices. This reduces decision fatigue and makes returning items automatic.

For pantries and kitchens, use stackable clear bins to make one shelf look ordered and to prevent items from getting lost at the back. Group similar items—breakfast carbs, baking goods, canned soup—so restocking and grocery list-making become faster.
Labeling: the small step that saves minutes every day
Labeling keeps systems consistent across family members. Use simple labels: “Keys,” “Dog,” “Mail,” or icons for kids. For fabric or woven baskets, attach a small tag or printable sticky label. On clear bins, a narrow label on the front maintains a clean look while making contents obvious.
Handling mixed contents and small parts
When a basket needs to hold a variety of small items (batteries, pens, sunglasses), create internal modules. Small clear trays or divided drawer organizers placed inside a larger basket keep tiny items organized and prevent a “treasure hunt” every time you need one thing.
Durability, cleaning, and aesthetics
Consider cleaning needs: clear plastic and coated bins wipe clean easily and resist stains—useful for food zones and kids’ craft areas. Woven and natural-fiber baskets look nicer but can be harder to clean; choose lined versions if you expect spills. For a cohesive look, limit materials to two families per visible area (for example, woven + metal, or clear + fabric) so the space reads as intentional.
Where to invest and where to skimp
Spend a bit more on durable, clear, stackable bins for kitchens and fridges because they’re used hard and solve functional problems. For decorative baskets in a living room or entry, mid-range pieces are fine—visual appeal matters more than ultra-durable plastics. Avoid buying many identical small bins for storage you haven’t measured; a single wrong size creates dead space.
The pantry organizer baskets above are a strong choice when you need versatile, stackable storage for snacks, canned goods, or coffee supplies. Use them to create visible groupings that slide in and out easily while keeping labels readable on the front.
Maintenance routine that keeps systems working
Once zones are set, keep them by following a 5-minute weekly reset: return stray items to their bins, re-label if something changes, and combine half-empty bins. Every three months, do a “contents audit”: empty a bin, toss or donate what’s not used, wipe the container, and relist what should go back. That prevents overflow and avoids buying duplicates.
Troubleshooting common setbacks
Bins look messy on shelves
Restrict visible bins to consistent colors or material families and use labels aligned at a consistent height. If contents vary wildly, add internal dividers to provide invisible order.
Family members don’t return items
Make the bins easy to use: open baskets instead of lidded boxes for daily items, place them at reachable height, and add a friendly label. A short family agreement (one sentence) about where things go often helps.
Too many single-purpose bins
Consolidate. If two bins are less than half full over a month, merge them into one and repurpose the spare for another zone.
Room-by-room quick placements
- Entryway: low woven basket for shoes, small wall bin for mail, tray for keys.
- Kitchen/pantry: clear stackable bins for snack groups, one bin for bread on the counter, a lidded bin for under-sink supplies.
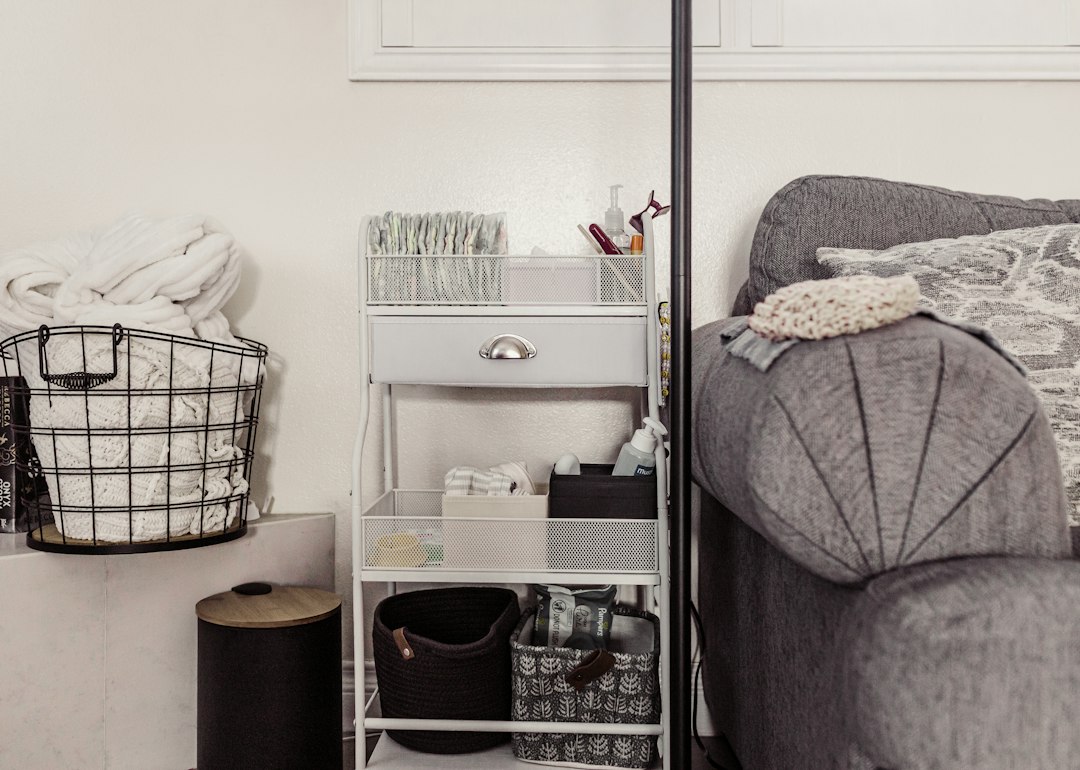
- Living room: two woven baskets—one for throws, one for remote/charging cables with a small internal tray.
- Closet: fabric bins on shelves labeled by season or accessory type.
- Kids’ room: clear front bins for small toys and a large lidded bin for stuffed animals.
Internal links for deeper reads
For toy-specific approaches and attractive living-room solutions, see our guide on organizing kids' toys and browse curated living room storage baskets for matching styles.
- Define one activity per problem area before purchasing.
- Measure shelf depth and height; pick bins that fit stacked or side-by-side.
- Choose materials by use: clear for pantry, woven for living spaces.
- Label each bin clearly and add internal dividers for small parts.
- Schedule a 5-minute weekly reset and a 3-month contents audit.
Storage bins and baskets work when they’re chosen for a specific purpose, placed by how often items are used, and kept with short regular maintenance. Start small—one shelf or drawer—so you can buy the right sizes and keep the system.
How many types of bins should I have in one room?
Limit visible materials to two families (for instance, clear and fabric) to keep the room cohesive; functionally, include 2–4 sizes to handle different item types.
Are clear bins better than woven baskets?
Clear bins are more practical for food and small items because you can see contents; woven baskets are better where appearance matters. Use liners if small items will be stored in woven options.
How do I choose sizes without overbuying?
Measure shelf openings and estimate typical item heights; buy one test bin first and adjust before buying sets.
Can labels be decorative and functional?
Yes—use printed labels or small chalkboard tags that match your decor but keep wording clear and consistent for all users.
What’s the fastest way to keep kids using the system?
Use clear bins at child height with picture labels and make clean-up a short daily routine tied to a regular event (before snack or bedtime).