Wishlist
What truly matters (and what you can ignore)
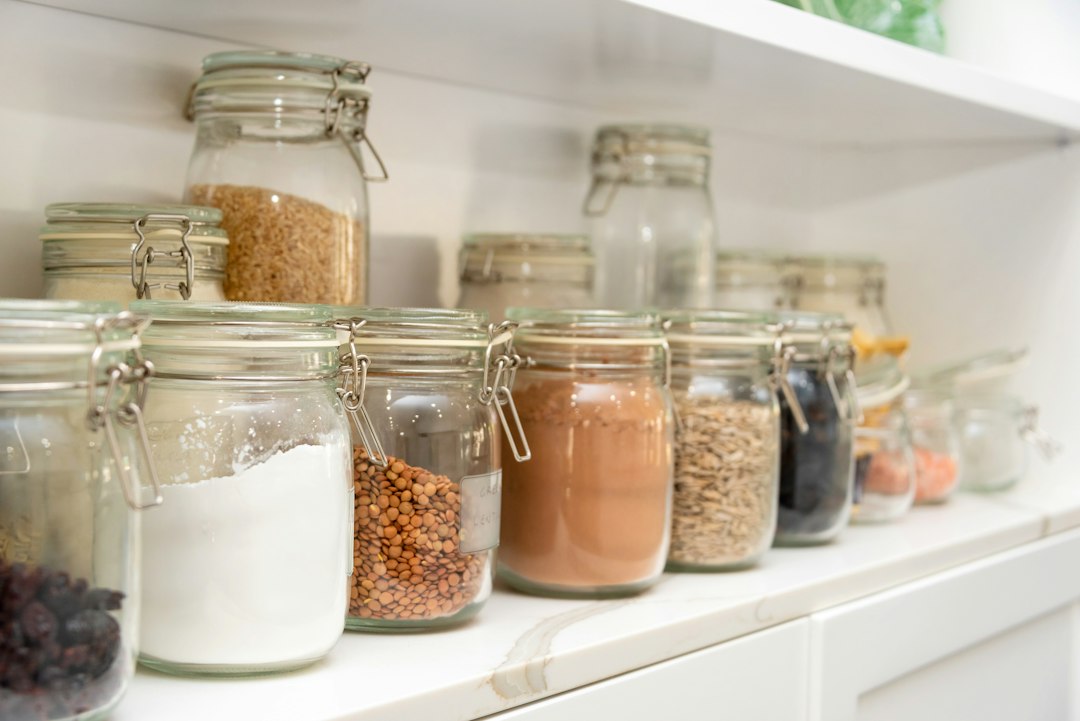
Smart pantry organization is about visibility, accessibility and a few simple rules — not buying every trendy container. Ignore aesthetic-only purchases that don’t match your shelf depths or daily habits. Focus first on these fundamentals: clear containers for frequently used staples, dedicated zones (baking, snacks, breakfast), and a rotation system so food isn’t forgotten.
1. Define practical zones, then test them
Group like with like—breakfast, baking, canned goods, snacks, and meal prep. Put everyday items at eye level, heavy or bulky items low, and rare-use appliances on the top shelf. Try the layout for a week and move items if a zone doesn’t feel intuitive.
2. Use clear, stackable containers for dry goods
Clear canisters or airtight containers make it easy to see quantities and prevent spills. Measure the containers to your shelf depth (front-to-back) before buying; sometimes two smaller stacks work better than one large tub. Label both the lid and the front with contents and purchase or expiry date.
3. Install shelf risers to double flat space
Shelf risers create a second visible plane for plates, canned goods, or spice bottles so nothing hides in the back. Use risers on deep shelves to keep cereal boxes upright and to create a tidy spice shelf without moving jars around.
4. Corral loose packages with bins
Soft snack bags, seasoning pouches and single-serve items belong in shallow bins. Bins keep small items from toppling and make it easy to pull an entire category down to the counter for meal prep. Choose clear or labeled bins so the contents are obvious.
5. Adopt first-in, first-out for food rotation
Place newly bought items behind older ones to avoid expired goods. For bulk buys, consider marking the purchase date with a permanent marker on the package or container. A quick weekly scan of expiration dates reduces waste.
6. Build a visible baking station
Keep flour, sugar, baking powder, extracts and measuring spoons together on one shelf or in a single large bin. Keeping tools and ingredients adjacent saves time and prevents wandering around the kitchen during a bake.
7. Use a can organizer for stacked cans
Stackable can organizers tuck cans forward so the next one rolls into place, saving shelf depth and reducing the need to pull items from the back. They’re especially helpful for soup, tomato products and beans.
8. Mount a lazy Susan for small bottles
A lazy Susan belongs in a corner or the middle of a shelf to neatly hold oils, vinegars and frequently used bottles. It prevents you from juggling multiple jars to reach the back and keeps grease-prone bottles contained.
9. Hang storage on the pantry door
Over-the-door racks are perfect for spice packets, small condiments and wraps (foil, parchment). Use narrow baskets so the door closes smoothly and avoid storing heavy glass jars that could shift when opened.
10. Label consistently and simply
Labeling removes guesswork. Use a consistent style—small printed stickers or a label maker work best. Include contents and, where helpful, measurement equivalents (e.g., “1 cup = 128 g”) on baking staples.
11. Keep a small “grab-and-go” shelf for lunch items
Reserve a low, easy-to-reach shelf for lunchbox staples: single-serve nut butters, granola bars, and boxed juices. Families appreciate a spot that kids can access themselves.
12. Use vertical dividers for cutting boards and trays
If your pantry stores flat items—cookie sheets, cutting boards, cooling racks—vertical dividers prevent them from sliding and make each piece easy to remove without removing the whole stack.
13. Contain bulk items in dedicated bins
For 5-pound rice bags or large flour sacks, use heavy-duty stackable bins with lids. They protect against pests and are easier to lift and pour from than a floppy bag. Consider a scoop attached with a clip for convenience.
14. Tackle cookware with a pot and pan organizer
Lower pantry shelves often become the cookware graveyard. A freestanding pot and pan organizer keeps lids and pans upright and reachable so you’re more likely to put items back where they belong. For most kitchens, a multi-tier organizer is the best fit.
15. Schedule a 15-minute monthly reset
Set a monthly 15-minute ritual: discard expired items, consolidate half-used boxes, and realign bins. Short, regular maintenance prevents the slow creep back to clutter.
Those 15 ideas cover quick wins and a few deeper changes that keep your pantry functional. Start with one zone and add tools as you confirm what you actually use.
- Measure shelf depths and heights before buying containers.
- Decide 3–5 pantry zones and place daily items at eye level.
- Buy 1 type of clear container that fits your most-used shelf.
- Add a can organizer and a pot & pan rack for lower shelves.
- Label containers and date bulk items.
- Schedule a 15-minute monthly pantry reset.
An organized pantry depends more on simple rules and the right few tools than on matching jars. Start small—define zones, convert key staples to clear containers, and add one organizer (can or pot rack) to change how your kitchen functions.
How do I choose the right clear containers?
Measure shelf depth and the volume of the item you store (e.g., 5 lb flour). Choose airtight containers with square or rectangular shapes to maximize space; round ones waste more room.
Are labels necessary?
Yes—labels save time and reduce mistakes, especially if multiple people use the pantry. Include contents and purchase date on opaque packages.
What’s the best place for bulk items?
Store bulk food in sturdy lidded bins on lower shelves or the floor of the pantry for safe lifting and pest protection.
Can I store spices in the pantry?
Yes—use a lazy Susan or a shallow basket at eye level for frequently used spices; keep them away from heat sources to maintain flavor.
Which organizer gives the most space back?
Clear stackable containers and shelf risers often create the biggest visible gain; a pot and pan organizer solves a persistent lower-shelf clog.