Wishlist
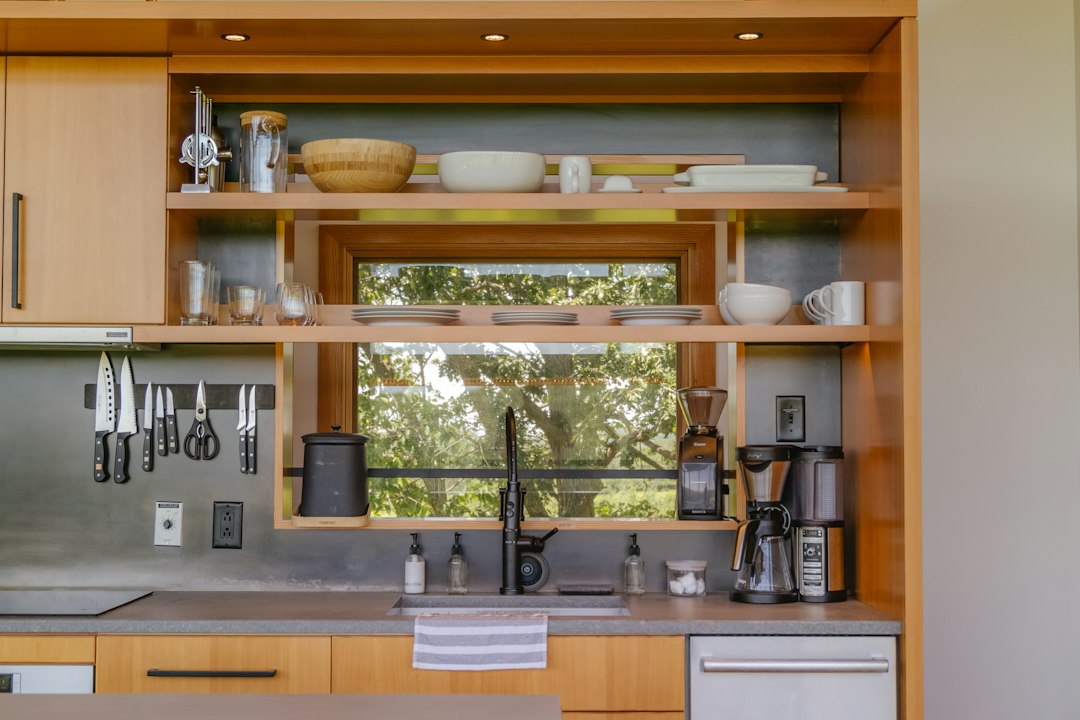
Quick answer: reclaim existing space and simplify what stays
If you want to organize a small kitchen without adding more cabinets, start by removing duplicate and seldom-used items, create clear everyday zones, and add targeted storage accessories—vertical racks, drawer organizers, door-mounted solutions and a freestanding pot-and-pan rack—to use the space you already have. These changes free counter and cabinet room immediately and don’t require remodeling.
What “organize without adding cabinets” looks like
The goal is not to cram more into the same boxes but to make every existing surface work harder: turn dead space (inside doors, cabinet sides, undershelves, the backsplash and inside drawers) into functional storage, consolidate cookware and pantry items, and create a small number of high-frequency zones (prep, cooking, cleaning, coffee/snack). When each zone holds only what’s needed, small kitchens feel larger and function faster.
Step 1 — Declutter first so every new trick has impact
Empty one cabinet or drawer at a time. Sort items into keep, donate/sell, and rarely-used piles. Be strict about duplicates: more than one blender, five spatulas, or single-purpose gadgets are often candidates to go. Keep one good version of each tool for your cooking style: if you rarely roast, the roasting pan can be donated or stored elsewhere.
Step 2 — Define four working zones and limit each to essentials
- Cooking: pots, pans, spatulas, measuring spoons.
- Prep: knives, cutting boards, mixing bowls, frequently used tools.
- Cleaning: dish soap, brushes, trash/compost tools.
- Food & beverages: everyday dishes, coffee, spices, snacks.
Place each zone as close as possible to the activity area it supports—for example, store cutting boards and knives near counter prep space, and place pots and pans near the stove—to reduce friction and keep counters clear.
Step 3 — Use vertical and inside-cabinet surfaces
Vertical storage multiplies capacity without changing footprint. Add these targeted options:
- Door-mounted organizers for spices, wrap, or lids (inside cabinet doors keeps counters clear).
- Magnetic knife strip on the backsplash to free drawer space and speed access.
- Under-shelf hooks for mugs or small baskets to use wasted airspace inside cabinets.
- Wall-mounted rails with hooks for frequently used utensils or a small hanging herb rack.
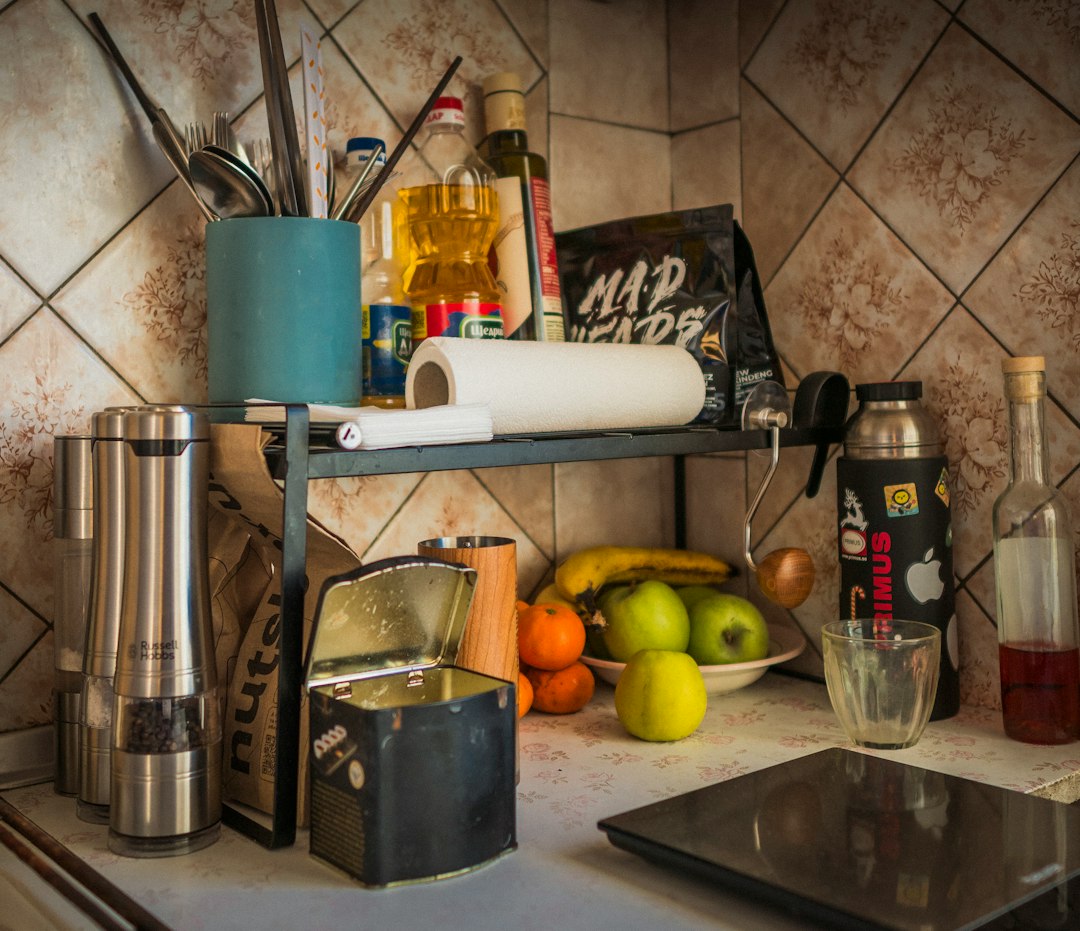
Step 4 — Reclaim the inside of drawers and the tops of cabinets
Add drawer organizers for utensils and shared small tools so everything has a place. Use slim trays for spices or tea bags in a shallow drawer. On top of higher cabinets, store only lightweight seasonal items in labeled baskets so they aren’t a visual mess.
Step 5 — Make cookware and bakeware compact
Pots, pans, and lids take oversized space if stacked haphazardly. Two effective approaches: store lids vertically and pans vertically or separate lids and pans into dedicated organizers.
The Silanit expandable pot and pan organizer is a freestanding option that expands to fit different cookware widths—useful if you lack under-sink or cabinet depth. Placing a stable, vertical organizer on a lower shelf or alongside a counter keeps pans accessible without piling.
Step 6 — Use adjustable racks and rollout solutions inside cabinets
Pull-out baskets or sliding trays convert deep lower cabinets into usable storage. If permanent slides aren’t possible, place non-slip shelf risers and pull-out bins that glide on rollers. Vertical dividers for baking sheets, cutting boards, and trays keep these thin items upright and easy to grab.

Step 7 — Tame the pantry and the spice collection
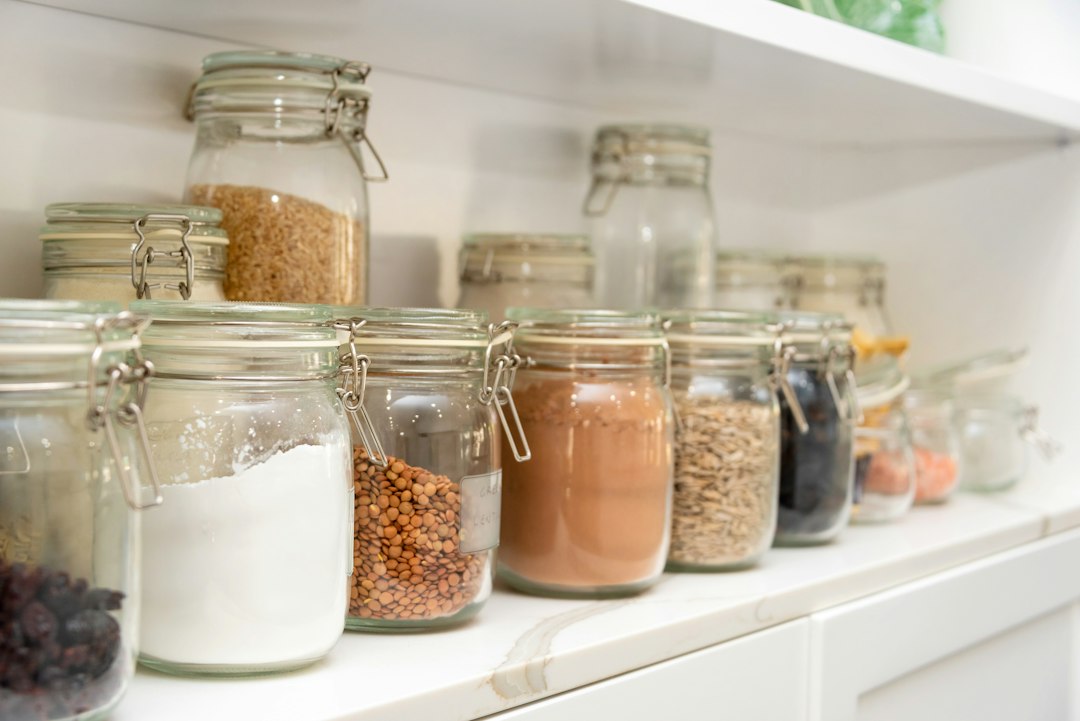
- Group like with like: snacks, baking, canned goods, breakfast. Use clear stackable containers for flour, sugar and cereals to reclaim shelf depth and make level stacking predictable.
- Move spices to a narrow pull-out or a mounted rack on the inside of a cabinet door—keep the most-used row near the stove.
Step 8 — Create a two-tiered countertop approach
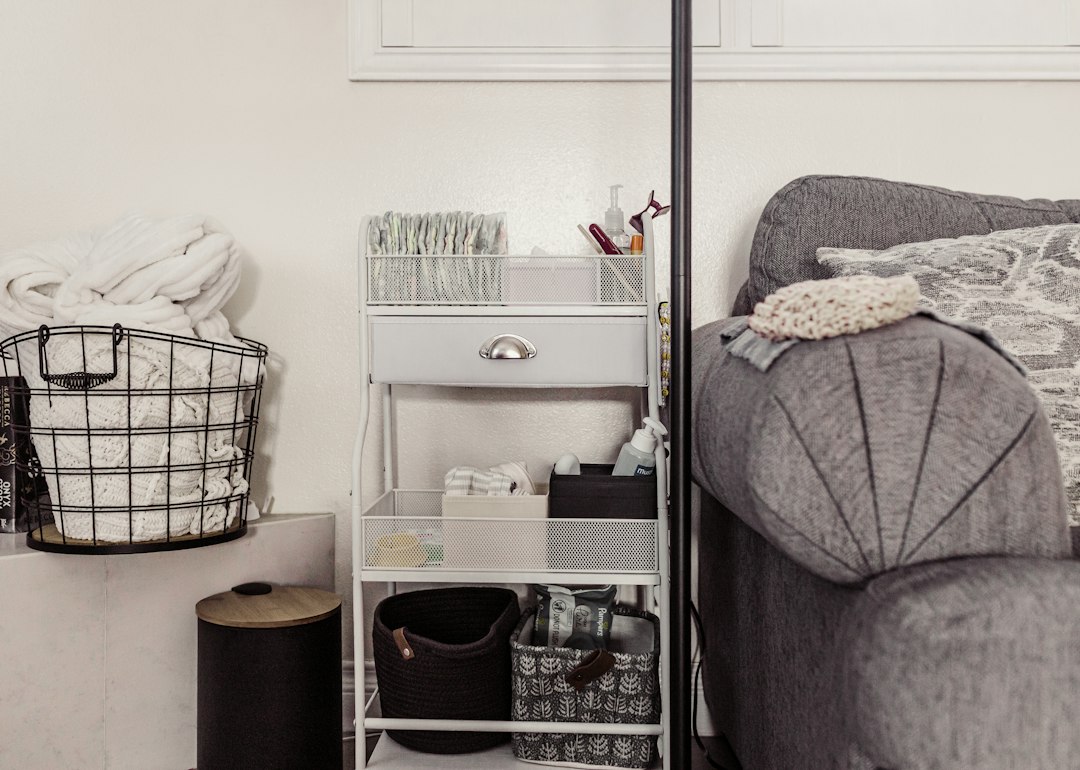
Reserve counter space for daily needs only (coffee station, fruit bowl, frequently used tools). Everything else should be stored. If you need extra staging space, use a slim rolling cart that tucks under a counter or fits beside an appliance and can be rolled away when not in use.
Troubleshooting and common adaptations
- If cabinets feel crowded after organizers: reassess what you keep; empty one organizer and try only the highest-use items.
- If a freestanding rack looks cluttered: choose a minimalist wire or open design so it reads lighter visually.
- If renters can’t drill walls: use tension rods inside cabinets, over-the-door racks that don’t require screws, or non-marking adhesive hooks rated for the load.
When to consider small cabinet additions or rental-friendly upgrades
If none of these tactics frees needed space—particularly for large cookware or pantry overflow—consider small, reversible updates: a slim rolling pantry, an adhesive-backed spice rail, or a clip-on shelf for the microwave. These give cabinet-like gains without full remodels.
- Clear one cabinet completely and sort keep/donate/rarely-used.
- Create defined cooking, prep, cleaning and food zones.
- Add one vertical organizer (lid rack, knife strip, or door spice rack).
- Install drawer dividers for utensils and small tools.
- Choose a freestanding pot-and-pan rack to stop stacking cookware.
- Use clear stackable containers for bulky pantry staples.
Organize a small kitchen by editing possessions, designating clear zones, and using vertical and inside-cabinet storage. One well-chosen cookware rack plus several door or drawer organizers delivers most of the benefit of added cabinets without remodeling.
How do I store lids without them taking over the cabinet?
Store lids vertically using a dedicated rack or mount a slim organizer to the inside of a cabinet door; this keeps lids visible and frees horizontal shelf space.
Can I organize a kitchen if I rent and can’t drill walls?
Yes—use tension rods, over-the-door racks that hook over cabinet doors, adhesive hooks rated for kitchen loads, and freestanding solutions like a slender rolling cart.
What’s the best place for a pot-and-pan organizer?
Near the stove or in the lower cabinet beside the range for fastest access; a freestanding vertical rack can sit inside a cabinet or on a counter’s end if cabinet depth is limited.
How do I keep the countertop from becoming cluttered with organizers?
Limit countertop organizers to one or two mission-critical stations (coffee and daily prep); everything else should fit into drawers, cabinets, or a tuck-away cart.